A custom countertop looks like a single finished product when it reaches a kitchen, but in reality, it is the result of a long supply chain. The journey usually begins with quarry selection, moves through block cutting and slab production, then into grading, finishing, templating, fabrication, transport, and installation.
Countertop Supply Chain Flow

Stable and visually consistent block
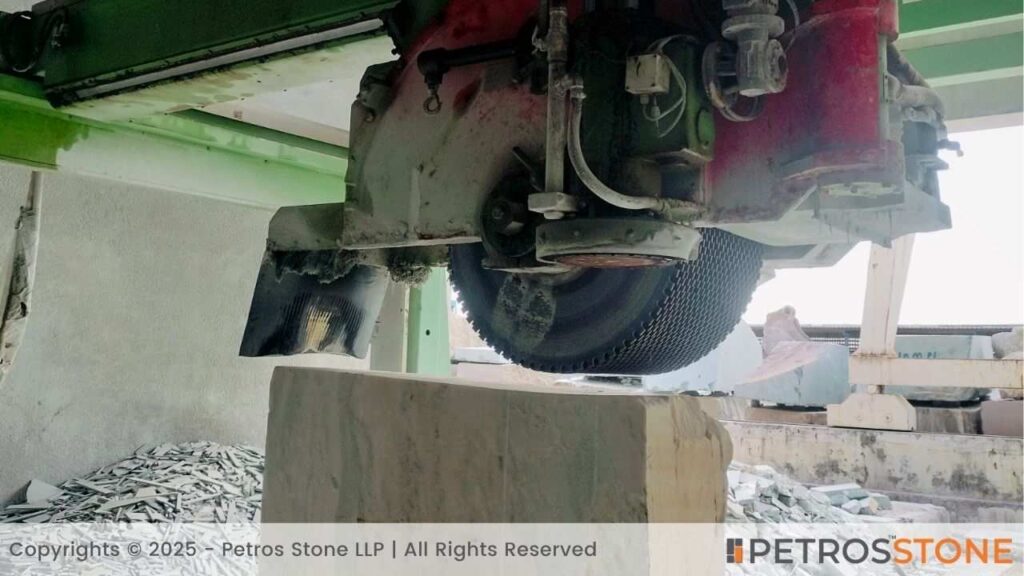
Convert quarry block into slabs
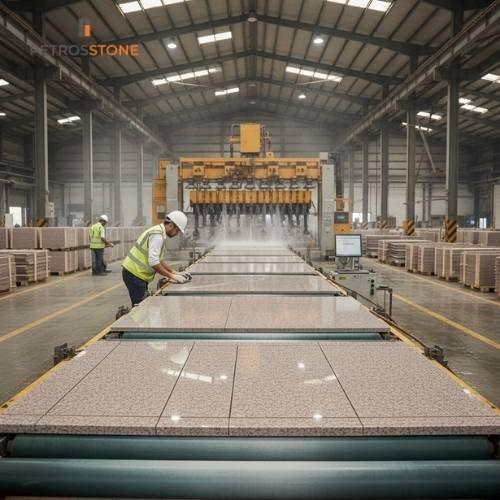
Calibration, resin, polishing
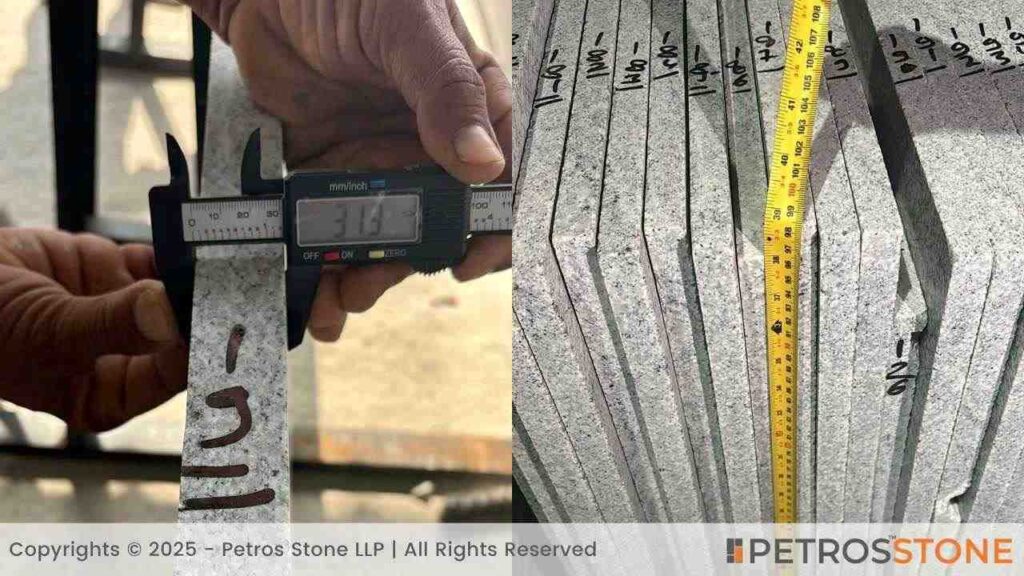
Match slabs and classify quality
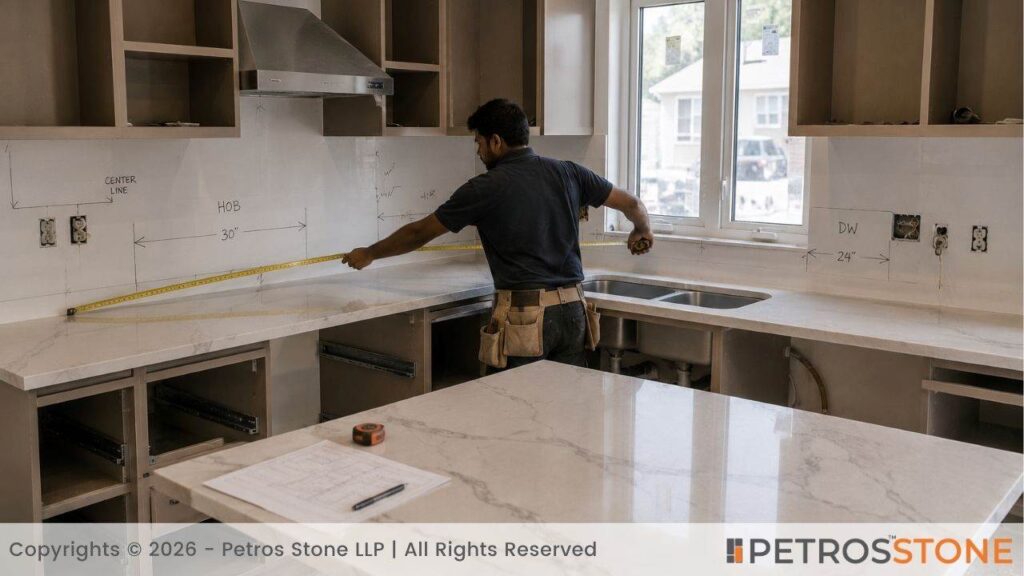
Capture exact site measurements
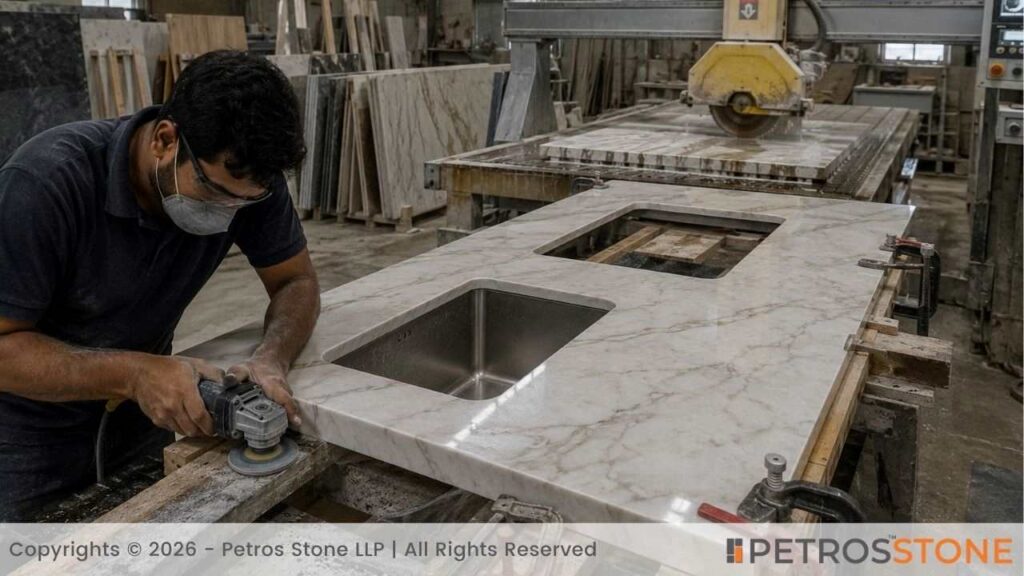
Custom cutting and edge work

Protect fabricated stone
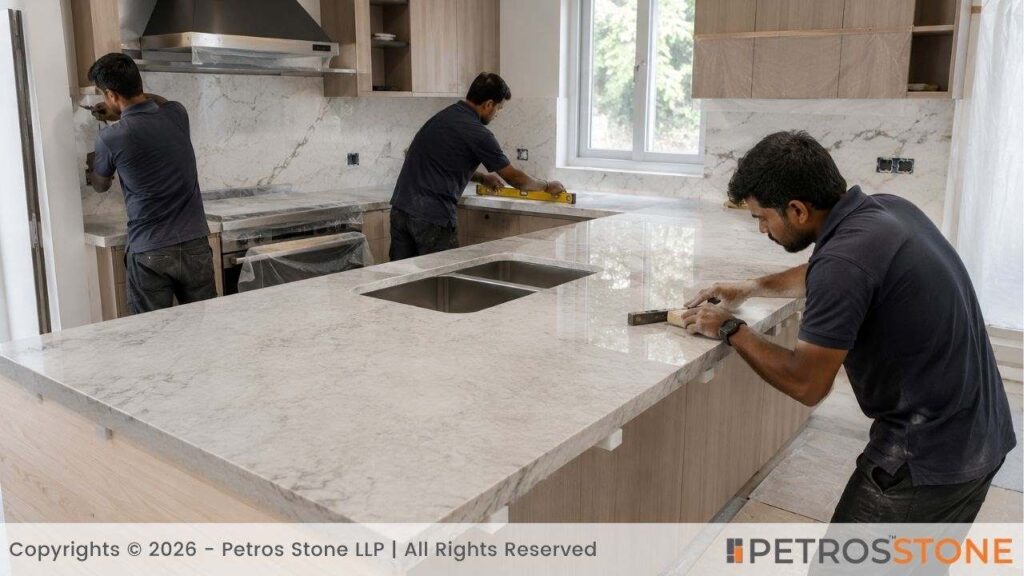
Final fit and finishing
| Stage | Main Objective |
|---|---|
| Quarry Selection | Stable and visually consistent block |
| Block Cutting | Convert quarry block into slabs |
| Slab Processing | Calibration, resin, polishing |
| Sorting & Grading | Match slabs and classify quality |
| Templating | Capture exact site measurements |
| Fabrication | Custom cutting and edge work |
| Transport | Protect fabricated stone |
| Installation | Final fit and finishing |
The IBM describes granite processing in simple terms – raw blocks are sawn or cut into slabs or tiles of the required size and thickness, then the sawn surfaces are polished. It also notes that further value is added through edge cutting, milling, boring, and contouring.
That matters because what a homeowner sees in the showroom is only the last layer of the process. Shade variation, hairline fissures, seam placement, sink-cutout strength, and even the way the top sits on cabinets are all shaped long before installation day. In countertop work, the final look depends not only on the stone itself, but also on how carefully each stage was handled.
In this article, we explore how a custom countertop moves from quarry selection to final kitchen installation, and why every stage affects the finished result. We also explained how slab quality, fabrication methods, seam planning, transport, and installation practices all play a major role in long-term countertop performance.
Countertop Supply Chain Flow – A Detailed Overview
1. Quarry Selection
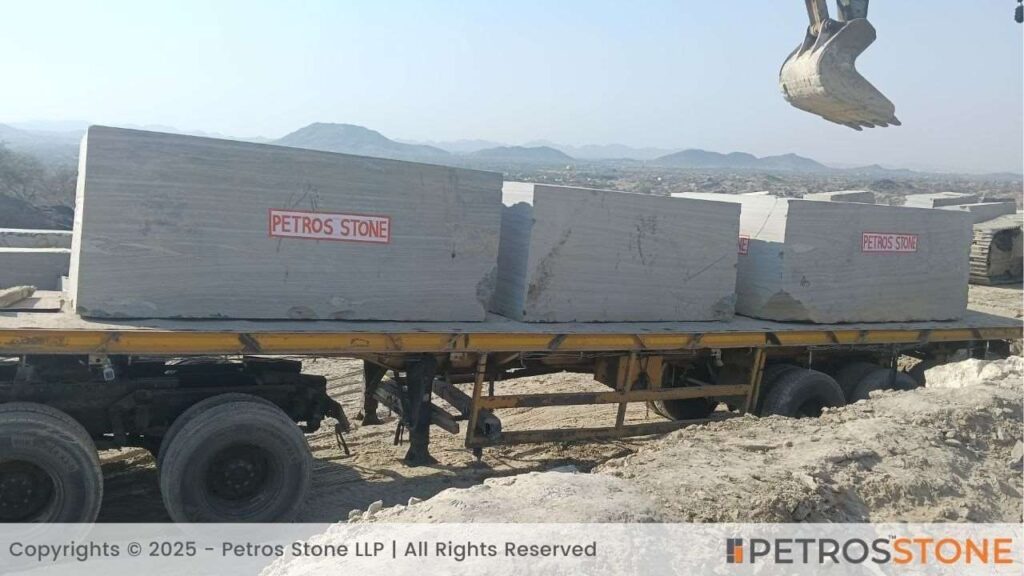


Everything starts with the stone type and source. A countertop project can go wrong very early if the block is chosen only for color and not for soundness. Granite from one quarry belt may be visually similar to granite from another, yet the grain pattern, movement, mineral concentration, and block stability can differ enough to change yield and fabrication risk. India’s major granite production comes from states such as Andhra Pradesh, Telangana, Rajasthan, Karnataka, Tamil Nadu, and Gujarat, which is why source matters commercially as well as technically. Then comes block quality and shade consistency.
A strong block gives the factory room to produce stable slabs. A badly fractured or highly inconsistent block creates problems later, even if the face color initially looks attractive. ASTM requires granite dimension stone to meet physical requirements and be suitable for building and structural use, which is another way of saying appearance alone is not enough.
This is also why quarry selection affects the final countertop more than buyers expect. If the block has hidden stress, excessive movement, or poor consistency, the finished top may need more resin, more trimming, more seams, or more rejection. The supply chain becomes costlier and less predictable from that point onward.
2. Block Cutting and Slab Production
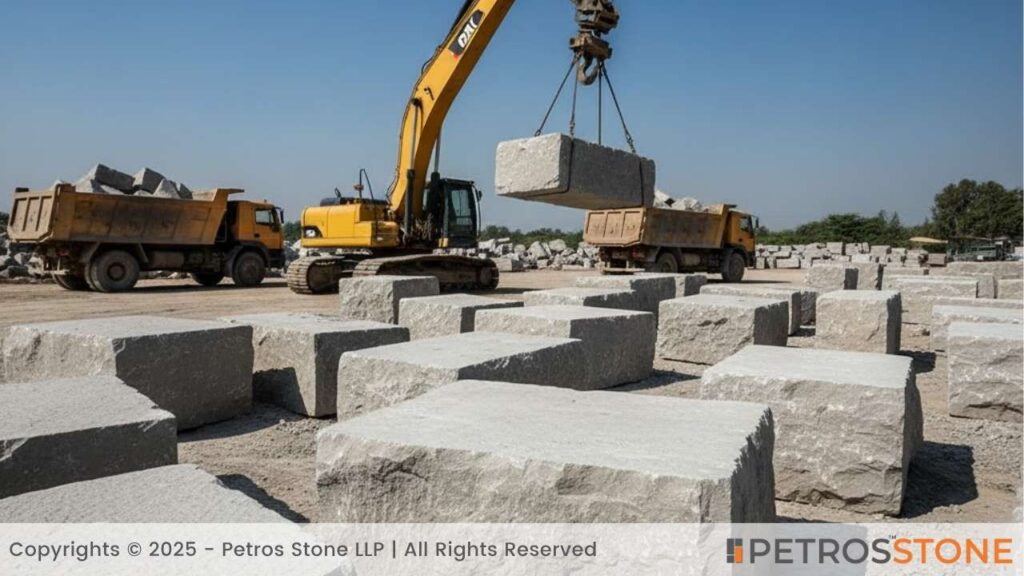
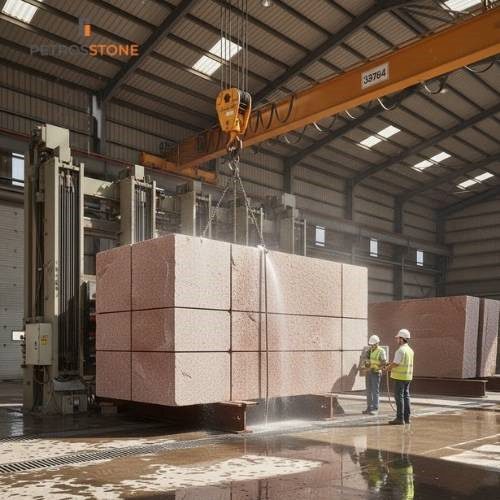
Once the block reaches the factory, the next step is block sizing. The rough block is dressed and squared so it can go into the cutting line with controlled dimensions. This stage already affects yield, because the more accurately the block is prepared, the more efficiently the factory can open it up into usable slabs.
The countertop installation guidance in the Dimension Stone Design Manual explains that slab thickness is sawn through the full depth, sometimes in multiple passes, and that blade type, speed, and feed rate all influence how smooth the cut is and how much chipping occurs.
Then comes slab cutting. This is where the block becomes something a buyer would recognize. IBM’s granite review explains that processing essentially means cutting raw blocks into slabs or tiles of the required size and thickness, followed by polishing. In actual factory practice, however, the visual opening of the block also matters. The cutter is not just making slices. They are deciding how the pattern will present itself across the slab set.
After that, the factory decides on thickness selection. For countertops, the most common nominal thicknesses are usually around 20 mm and 30 mm, but the correct choice depends on span, overhang, stone strength, and design. The homeowner’s guide, based on stone-industry practice, notes that spans and cantilevers are directly related to thickness, with tighter limits for thinner tops and larger allowances for thicker ones.
3. Sorting and Quality Checks
After cutting, the slabs go through crack and fissure checks. This is one of the most important stages and one that buyers rarely see. Not every line in a slab is dangerous. Some are harmless features. Others affect fabrication around sink cutouts or unsupported areas. ASTM’s granite specification ties selection to physical performance, not just appearance, which is why real quality control goes beyond “does the slab look nice?”
Next comes color matching. This is especially important when the kitchen needs multiple slabs, a waterfall island, or a large run with visible seams. The templating guide for homeowners notes that seam placement has a strong impact on the final appearance, especially with stones that show strong veins or movement. That same logic applies one step earlier at the slab-sorting stage. If slabs are not matched correctly, the kitchen can look patchy even when the installation is technically sound.
Then the factory performs slab grading. This is where appearance quality, surface repair needs, polish response, and overall suitability get evaluated. Different factories use different grading language, but the underlying idea is the same. The slabs are sorted by how saleable and usable they are for the intended application.
4. Surface Finishing
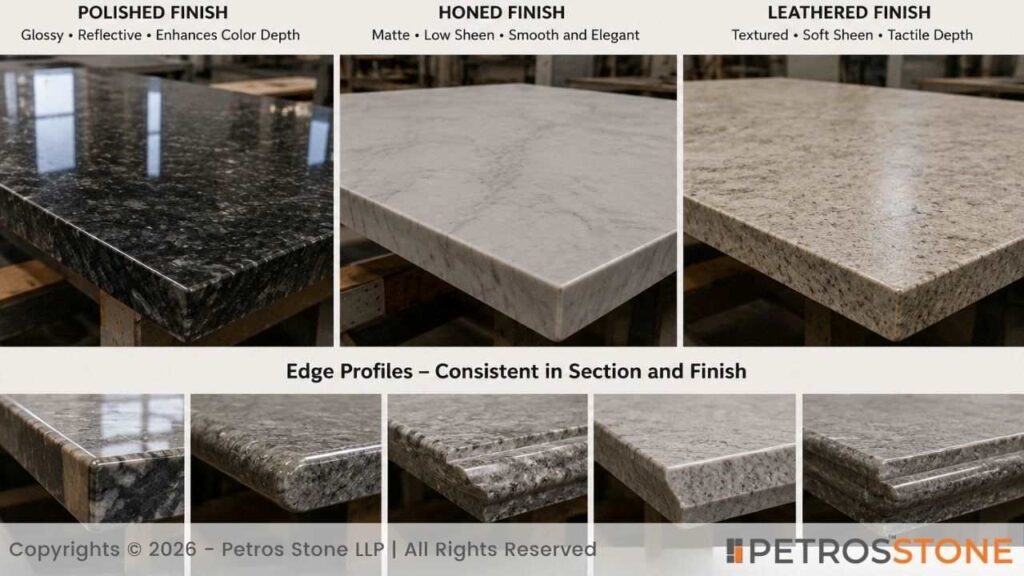
Now the slab is ready for surface finishing. The most familiar option is polished, where the stone is processed to a glossy, reflective face. IBM specifically identifies polishing as a basic part of granite processing, and this remains the default for many kitchen countertops because it deepens color and makes the slab look finished.
A honed finish gives a matte or low-sheen look instead. It is smoother than a textured exterior finish but less reflective than polish. Many buyers choose honed when they want a quieter, more contemporary kitchen.
A leathered finish sits somewhere between textured and smooth. It keeps movement in the stone but softens glare and adds tactile depth. Whether the finish is polished, honed, or leathered, the edge must still match the top properly. The Design Manual notes that edge profiles should remain constant in section along the full length of the countertop and should be finished to the same type and quality of surface as the top unless a contrasting finish is intentionally specified.
This is one of those practical details that separates average fabrication from good fabrication. A slab may look beautiful on the face, but if the edge finishing is inconsistent, the installed counter will still feel unfinished.
5. Kitchen Templating
Once the stone is ready, the process moves to kitchen templating. This is the bridge between the slab yard and the actual house. The industry homeowner guide notes that field measurements are taken only after the cabinets are in their permanent positions, and that the technician needs access to details such as cabinet doors, end panels, cabinet hardware, sinks and sink templates, plumbing fixtures, vents, electrical outlets, and sometimes appliance dimensions.
This stage is often underestimated by homeowners because the kitchen already “looks ready.” But templating is where straight walls turn out not to be straight, corners reveal slight variation, and sink or hob positions get confirmed against actual site conditions. A beautiful slab can still become a frustrating installation if templating is rushed or based on incomplete site readiness.
6. Fabrication and Customization
After templating, the slab goes back for fabrication and customization. This is where the countertop becomes specific to one kitchen. The fabricator cuts the slab to template, shapes the chosen edge profile, plans seams, and makes cutouts for sinks, hobs, or other built-in accessories.
Natural Stone Institute’s installation standards highlight exactly the issues serious fabricators must manage: seam placement, rodding sink cutouts, overhangs and cantilevers, resin-impregnated slabs, joint widths, and tolerances.
The Design Manual adds that edge profiles are normally shaped with hand-held routers or CNC machinery, and that some hand grinding is often needed at inside corners. It also states that cutouts may be made with hand-held or automated tools and must conform to equipment templates within allowable tolerances.
This is the stage where craftsmanship shows. A good fabricator is not just cutting stone. They are managing stress points, hiding seams intelligently, preserving pattern flow, and making sure the slab survives handling after material has been removed for sinks and appliances.
7. Transport and Site Delivery
Then comes transport and site delivery, which is where many otherwise good countertops get damaged. The Design Manual specifically states that stone materials must be crated or otherwise protected for transport to the project site, and that local transport requirements for tie-down and clearance must be understood.
In practical terms, this is where chips, corner damage, and breakage risks rise sharply. Once a slab has been cut for a sink or hob, it is no longer as structurally forgiving as it was in full form. This is why careful packing, lifting, and unloading matter so much. A common lesson across countertop jobs is that many supply-chain problems do not come from bad stone. They come from bad handling after good fabrication.
8. Installation
Installation starts with leveling. Cabinets must be true enough to support the stone evenly, because stone does not like voids or twists. Even a strong slab can crack over time if one section is left unsupported.
Then comes joining and sealing. Seams are aligned, bonded, and adjusted so the countertop reads as a continuous surface as much as possible. The homeowner’s guide stresses that seam layout affects appearance significantly, especially on stones with obvious movement. It also explains that heavier sinks, including cast-iron units, may require extra support rather than relying only on the stone.
Finally, there is the final finishing and inspection. The installers check alignment, seam appearance, cutout fit, edge finish, and general surface condition. Safe handling is part of the formal installation process, too. The Design Manual states that technicians involved in handling and working stone materials must be trained in safe work practices.
This last stage is where the whole journey becomes visible. If the supply chain is handled well, the installation feels seamless. If earlier errors were ignored, this is usually where they become impossible to hide.
Key Takeaways
- A countertop’s performance depends on every stage of the process, from quarry selection and slab cutting to fabrication, transport, and installation.
- Good fabrication is about more than cutting stone. Proper seam planning, sink reinforcement, edge finishing, and stress management all affect long-term durability.
- Quarry source and slab quality matter because hidden fissures, shade variation, and weak block structure can create problems later during installation or daily use.
- Careful templating, handling, and installation are critical. Even premium stone can fail if cabinets are uneven, seams are poorly aligned, or slabs are mishandled during delivery.
- Smart buyers look beyond color and polish by asking about slab grading, reinforcement methods, seam placement, and installation practices before making a final decision.
Feel free to get in touch for a free consultation, quote, and get a detailed understanding from our experts here at Petros®. Visit www.petrosstone.com or call +91-8446360361 or WhatsApp

Hi, I’m Shivangi,
With years of experience in the architecture and design space, I write to bridge the gap between material knowledge and practical application. At Petros® Stone, I create content that highlights the beauty, function, and impact of natural stones, helping homeowners and professionals make confident design decisions.
Explore my LinkedIn profile to learn more about my work!

Brown Granite

White Galaxy Granite

Blue Bahia Granite

Silver Cloud Granite

Black Pearl Granite

Dallas White Granite