Granite thresholds are more than functional transition pieces between different flooring types; they add a touch of class to any space. They are durable connectors between rooms, doorways, and entry areas and protect the exposed edges of the flooring.
Homeowners and contractors like granite thresholds because of their toughness, natural water resistance, and premium look. So whether you are remodeling a bathroom, updating an entryway, or replacing an old threshold, a granite piece will instantly freshen up your interiors.
In this article, we will walk you through the entire process of selecting a granite style and finish, cutting, installing, and sealing it for years of beauty.
Understanding Granite Thresholds
What Is a Granite Threshold?

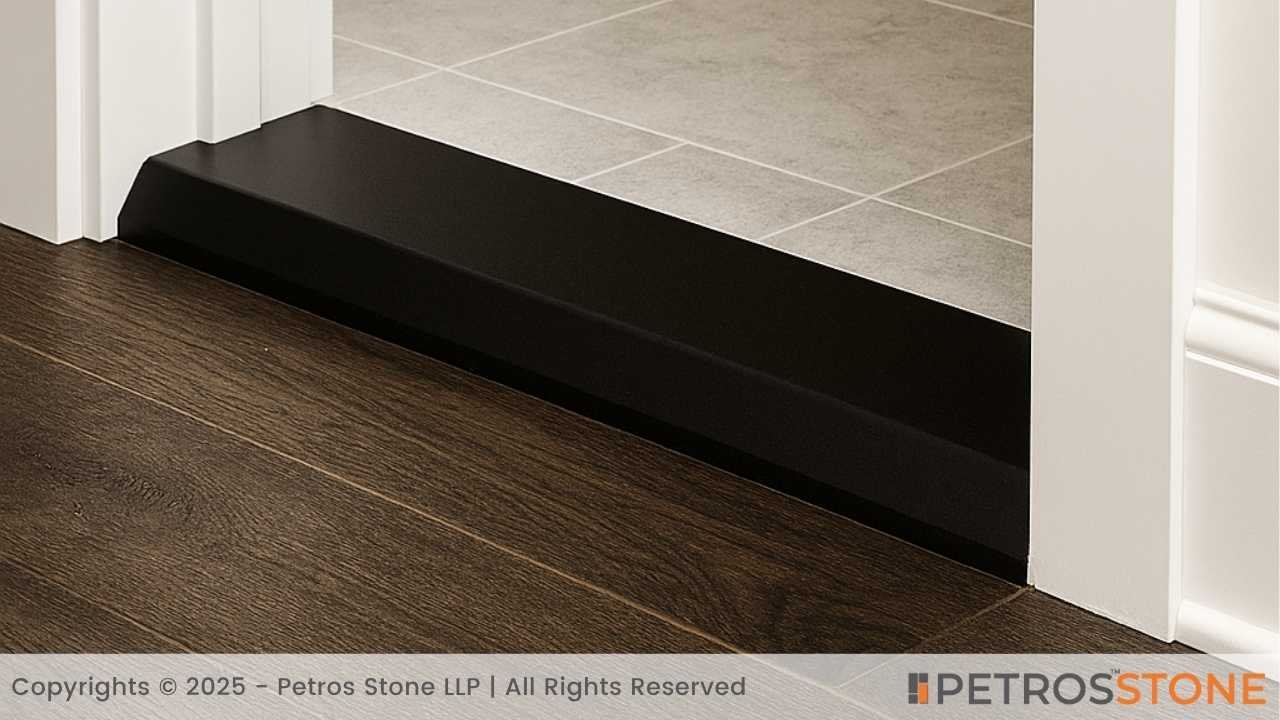
A stone door saddle, often known as a granite threshold, is a useful bit of granite that is utilized as a transition strip between two distinct flooring materials. It may be positioned between carpet and tile, between hardwood and stone, or perhaps in the entrance of a shower. The granite threshold protects the edges of your flooring from damage and exudes a polished, high-end appearance.
Common Placements
- Bathroom doorways
- Shower entries
- Transitions from room to room (tile to wood, carpet to stone, etc.)
- Exterior or interior entryways
- Hotel bathrooms and industrial areas (usually ADA-compliant designs)
Advantages of Granite Thresholds
Durability
Granite is a solid stone that will not warp, chip, or dent. It retains its shape and strength and is more durable than other stones, especially in heavy-use areas.
Water Resistance
Granite thresholds are useful in moist or damp areas like bathrooms when sealed properly. They’re far better than wood or marble at resisting mildew, mold, and water damage.
Aesthetic Appeal
Granite can be a versatile material for creating patterns and colors as well as finishes that mirror its natural beauty. Its stylish appearance complements traditional and modern interiors, giving any space a premium finish.
Easy Maintenance
Granite maintenance isn’t too much of a hassle. It does not need refinishing like wood, and you can merely wipe it clean using water and gentle soap. It may be polished for a long time but still stay stain-proof with frequent sealing.
Granite Threshold Pricing Guide (in USD)
| Specification | Price Range (USD) | Details |
| Standard Size (36″ x 4″, 5/8″ thick) | USD 20 – USD 25 | Ideal for interior doorways and room transitions |
| Double Beveled / Hollywood Bevel (ADA) | USD 26 – USD 35 | Suitable for ADA-compliant, hotel, or commercial spaces |
| Premium Polished Granite (36″ x 6″ or 8″) | USD 35 – USD 45 | High-end finish for entryways and luxury interiors |
| Custom Size or Exotic Granite | USD 45 – USD 60+ | Includes rare colors, curved profiles, and special cuts |
| Bulk/Export Orders (Per Piece Avg.) | USD 18 – USD 40 | Depends on volume, destination, and packaging requirements |
Note: Prices may vary based on color, thickness, edge profile, surface finish, and order quantity. Custom crates and export documentation may incur additional charges.
Types of Granite Thresholds
Edge Profiles
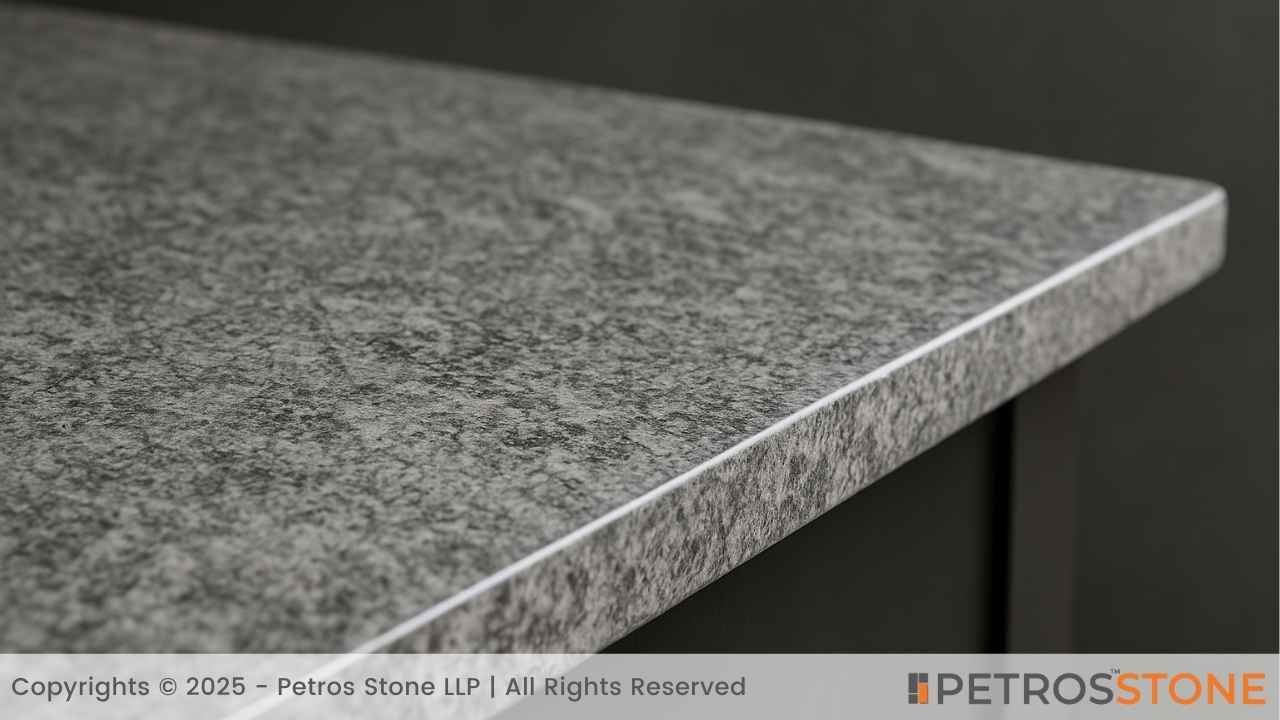
Edge Profiles allow for the creation of unique designs.
Single Bevel
An edge is usually sloped, especially for applications where only one side transitions.
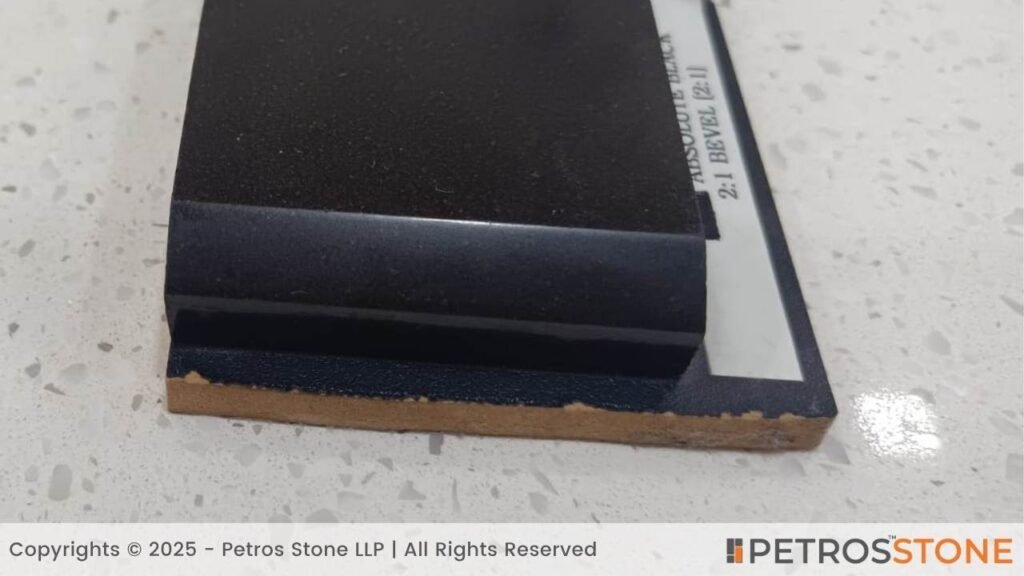
Double Bevel
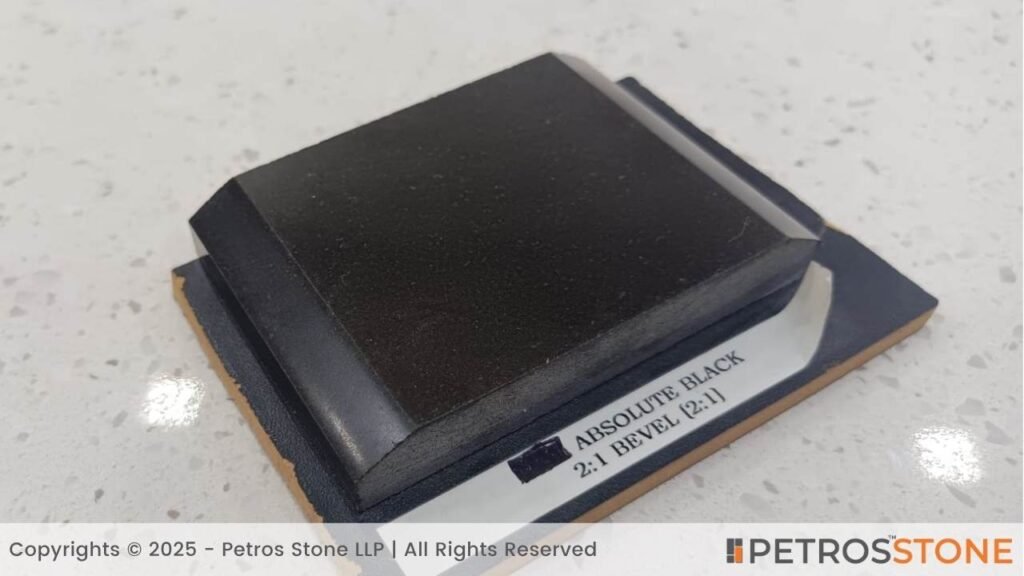
Perfect for entryways; Both edges will be sloped.
Hollywood Bevel
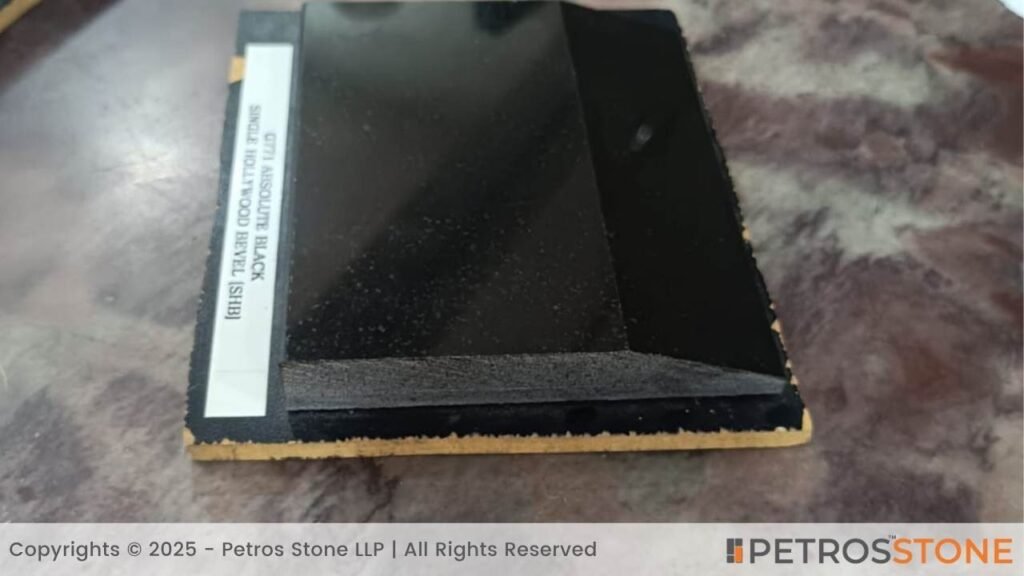
Hollywood bevels have greater slopes (1-3/8″) for ADA compliance or softer transitions.
Finishes
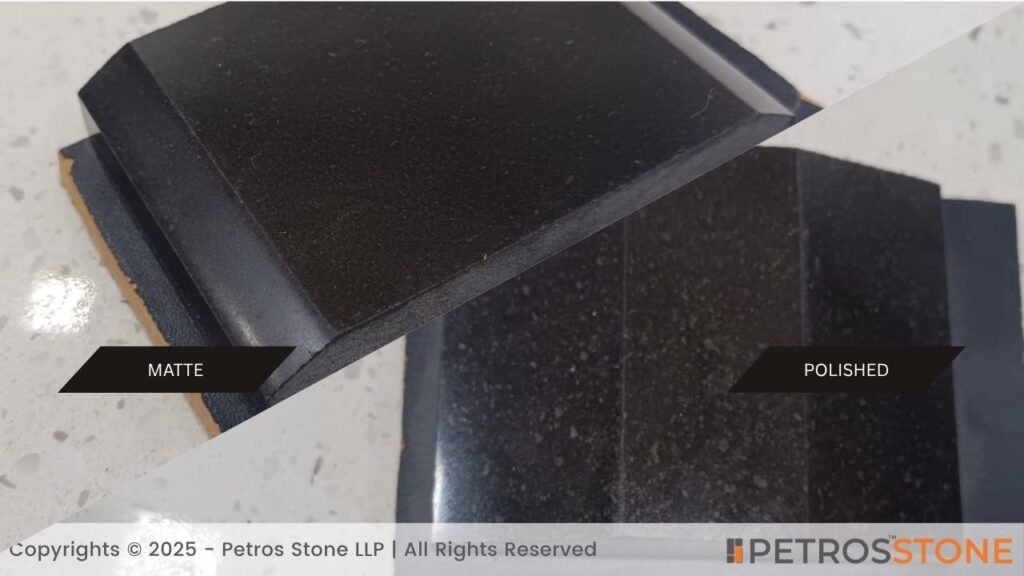
Honed (Matte)
A matte satin finish gives it a smoother appearance and a much better grip.
Polished
The high gloss finish makes it ideal for damp and ornamental areas.
Tools and Materials Needed
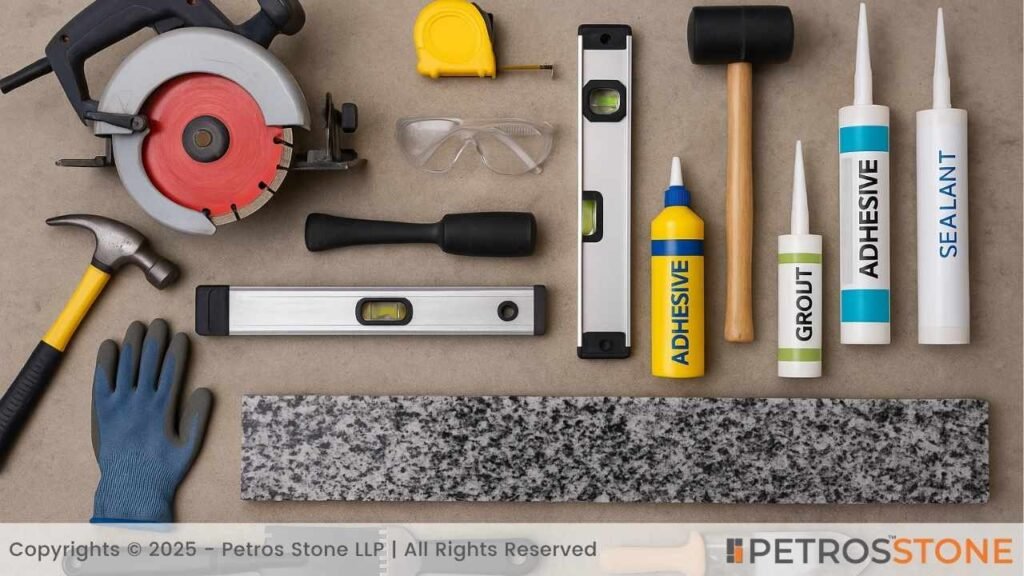
Essential Tools
- Wet saw (recommended) or angle grinder with a diamond blade
- Measuring tape
- Level
- Rubber mallet
- Notched trowel
- Safety goggles and gloves
Materials
- Granite threshold piece
- Building adhesive (for wood or tile) or thinset mortar (for concrete or tile).
- Caulk or even grout (optional)
- Sealant
Removing the Old Threshold
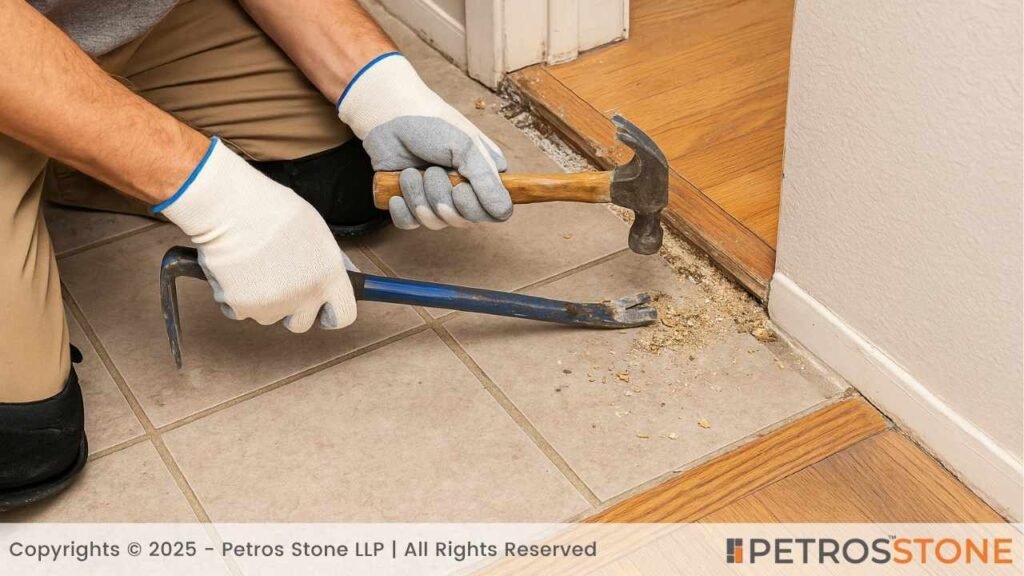
Please remove any existing wooden or marble thresholds before installing a new granite threshold. Use a pry bar and hammer carefully to avoid harming adjacent flooring. To eliminate adhesive residue and any debris, completely clean the spot.
Measuring and Preparing the Space
How to Measure for a Granite Threshold
There is an optimal method for measuring granite thresholds.
- Length: Measure the length from one jamb to the other, leaving an eighteen-inch expansion gap when necessary.
- Width: Pick a width that effectively encircles both floors.
- Height: Ensure the height of the threshold matches or flows effortlessly between floor surfaces.
Subfloor Preparation
- Level the floor and cleanse the underfloor.
- Check the level difference between the floors with a straightedge and make use of a leveling compound to level the ground if there are uneven spots.
- Take safety precautions.
How to Cut a Granite Threshold
Granite cutting involves precise tools and safety precautions. While cutting natural stone, wear personal protective equipment to shield your face and ears from tiny fragments. You should have a diamond-tipped cutting blade, which could slice through granite and leave the edges uncut.
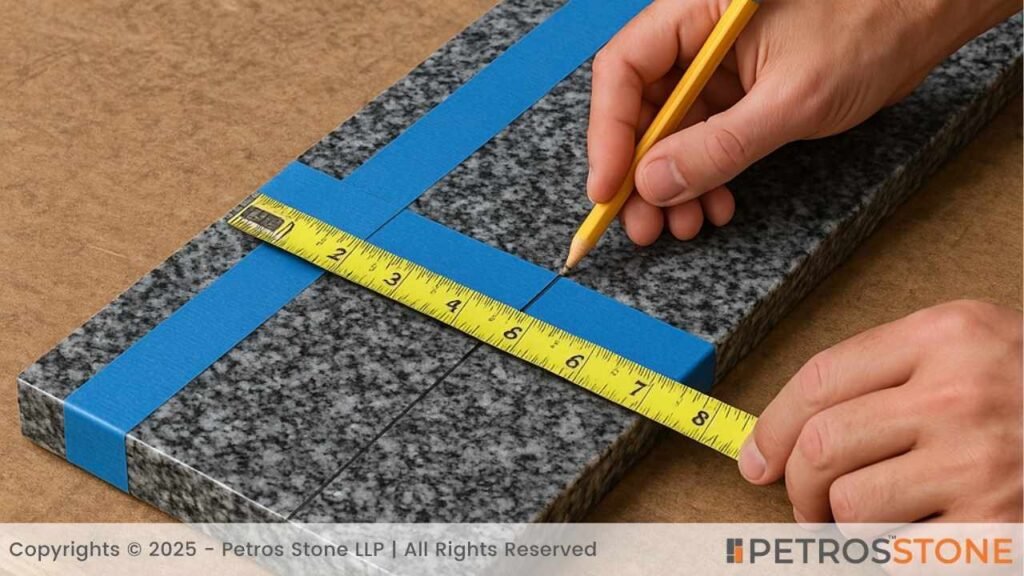
Measuring and Marking
Step one is to accurately measure and mark the granite threshold. Please ensure the cutting lines are marked thoroughly and determine the necessary length and width. Place the painter’s tape across the marked lines prior to cutting to achieve cleaner cuts and lessen chipping. The tape functions as a clear visual guide for the blade and also stops it from scrubbing the polished area. Always check measurements before starting, because even a slight miscalculation can result in an uneven fit.
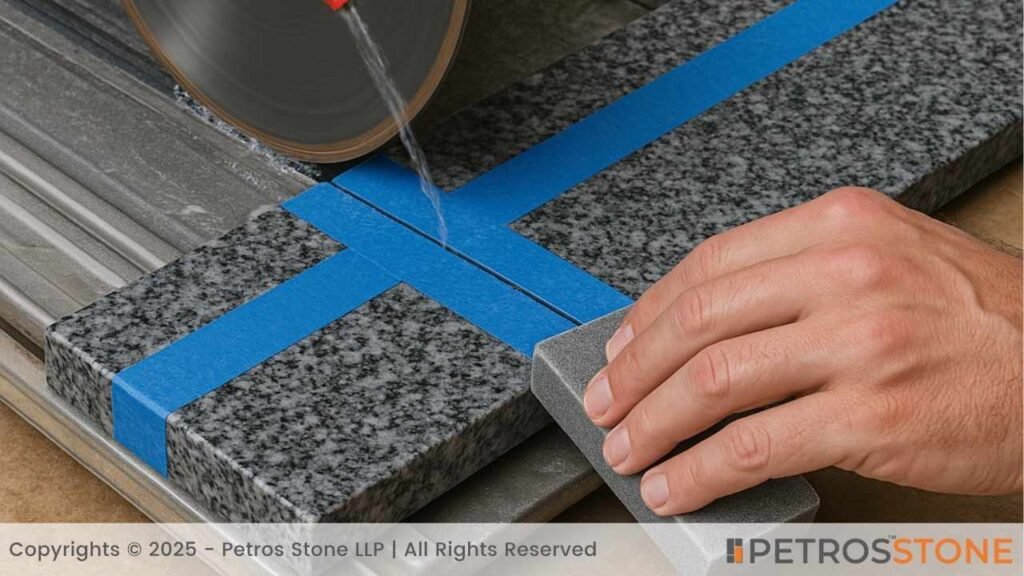
Making the Cut
Wet saws are the best to achieve accurate cuts. The water keeps the blade cool, reduces dust, and makes straight cuts. If you lack a wet saw, you can use an angle grinder with a diamond blade for smaller adjustments or edge trimming. But this is only for minor cuts; a wet saw is more precise and efficient for full-length cuts.
When you finish the cut, you smooth the edges with a sanding block or stone polishing pad and then polish them with a sanding block. The very last step smoothes out some sharp edges and gives the threshold a finished, professional look that matches the other floors.
How to Install a Granite/Stone Threshold
Dry Fitting the Threshold
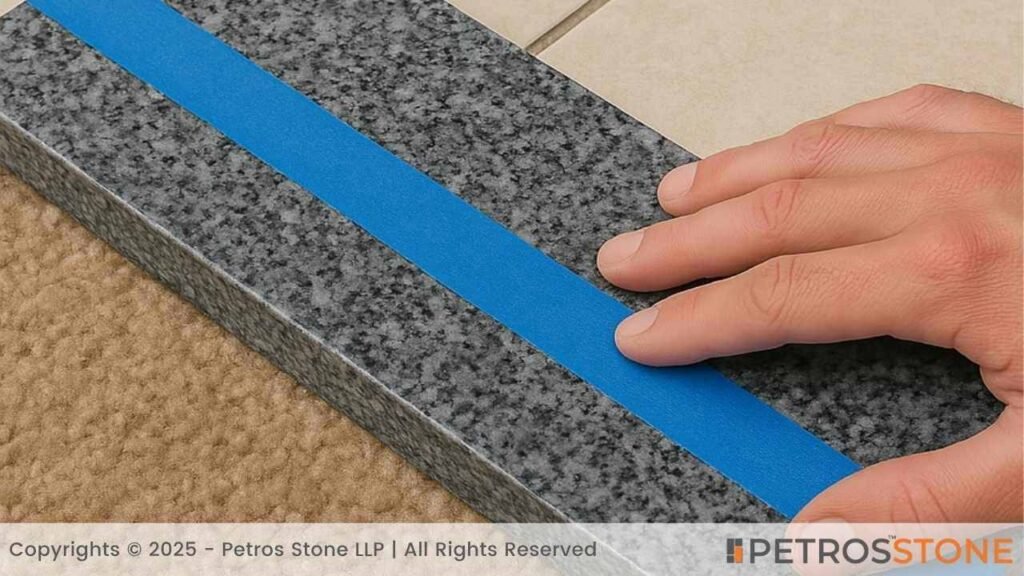
Before applying the adhesive, ensure that the granite threshold is level and properly aligned in its intended position.
Applying Adhesive or Mortar
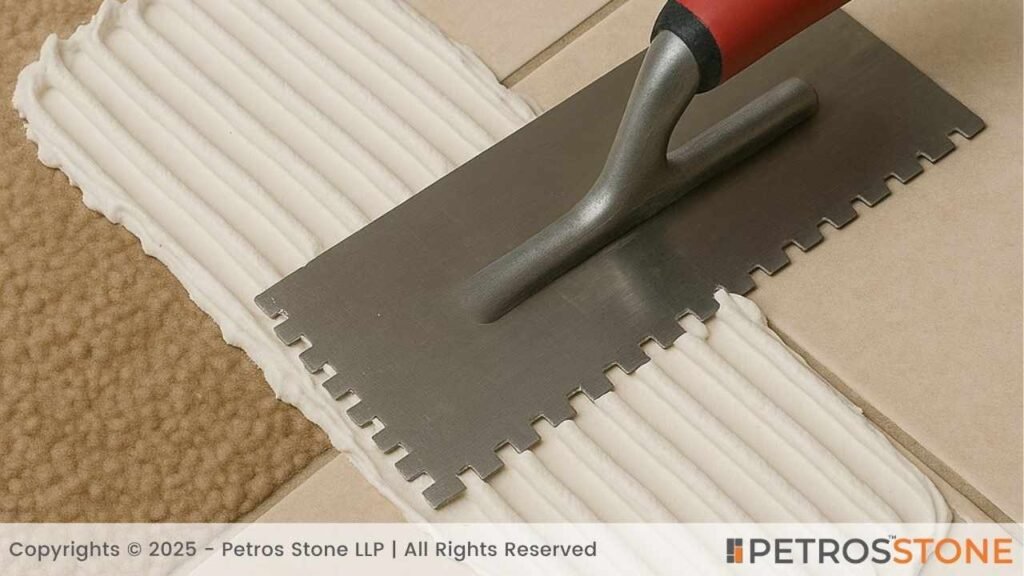
For a secure and safe installation of your granite threshold, you have to select the proper bonding agent. The adhesive you use will depend on the type of subfloor you have.
- For setting up tile or cement subfloors, utilize thinset mortar. This bond is robust and long-lasting, making it ideal for stone-to-stone constructions.
- For wood subfloors, using a latex-based adhesive designed for wood is a smart choice
- It is possible to avoid uneven places beneath the threshold by spreading the adhesive evenly using a notched trowel.
Installing the Threshold
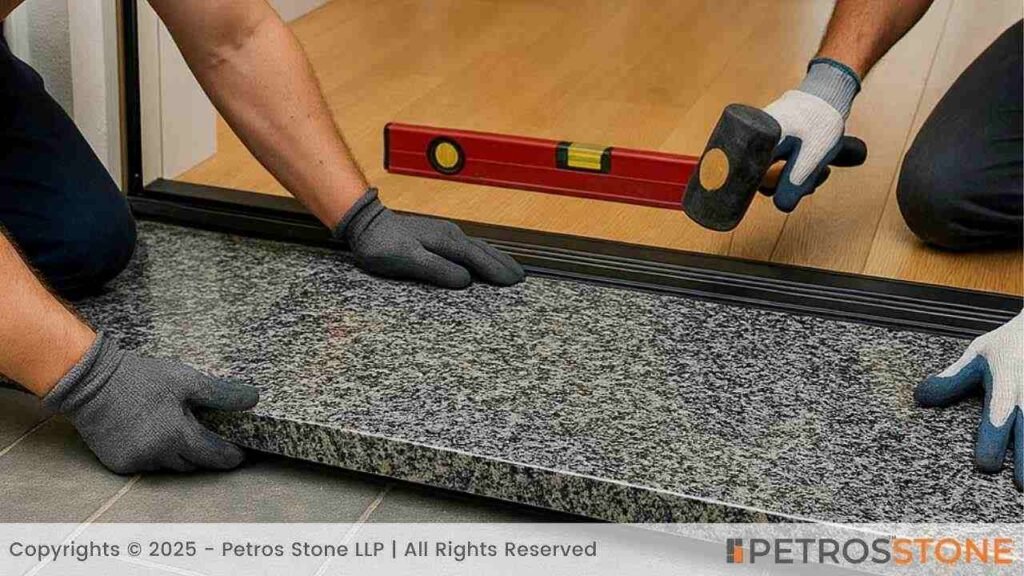
Once the adhesive has dried, the next step is to position the granite threshold. To obtain the ideal fit, follow these tips.
- Start with one side of the threshold and then slowly lower it without dragging it across the adhesive.
- Work with your fingers to push the adhesive down and wiggle your finger to ensure it’s uniformly distributed throughout the surface area.
- Use a rubber mallet to level the threshold with the floor and adjacent area.
Grouting or Caulking (if needed)
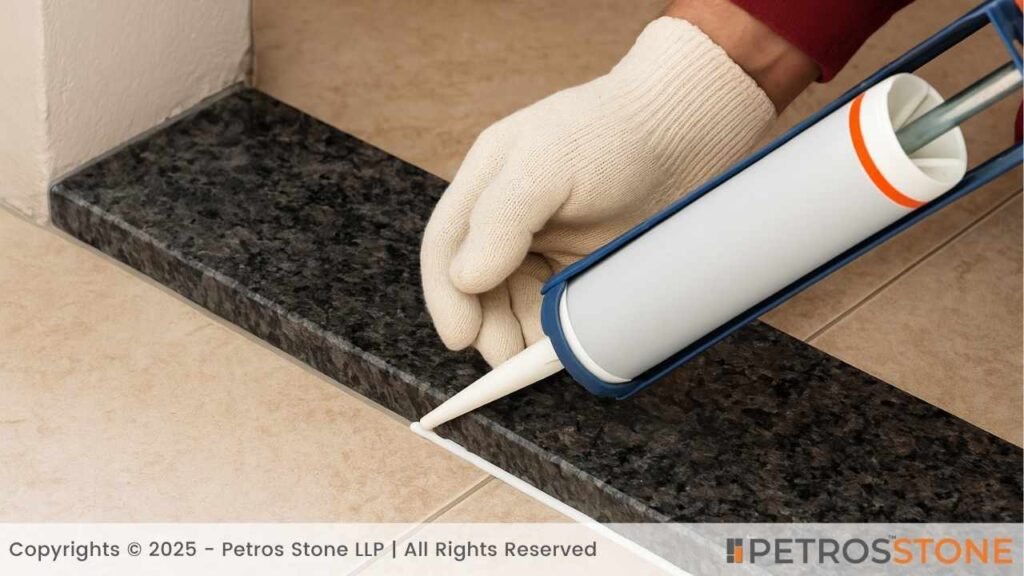
When needed, Grouting or caulking can be suggested.
- Filling the gaps between the threshold and the adjacent walls or floors can create a seamless finish.
- Select a caulk or grout that complements the color of your flooring or threshold.
- To achieve a professional appearance, it is possible to easily smooth the joints out using a wet sponge or fingertip.
Cleaning and Curing
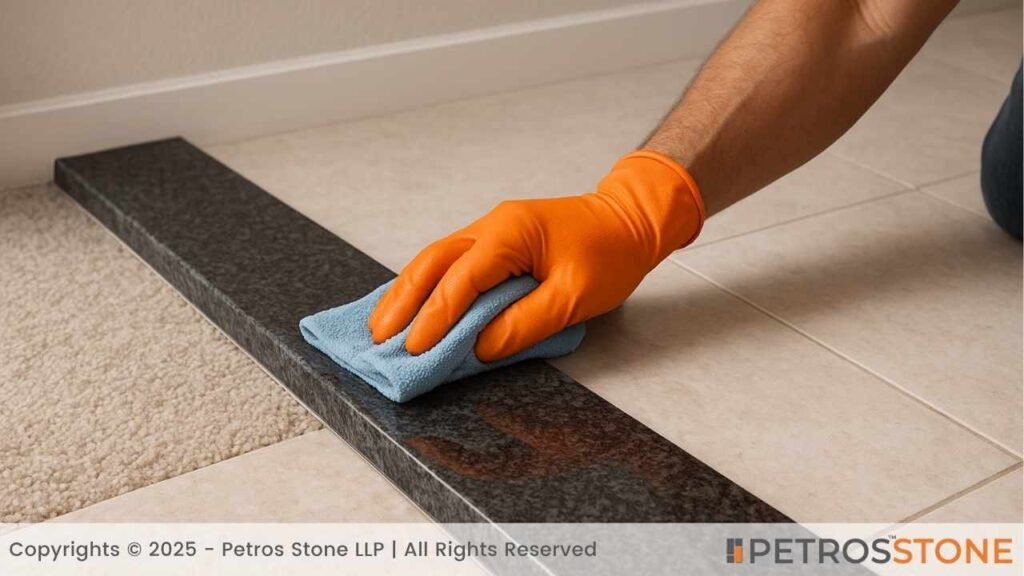
Ensuring proper threshold setting requires thorough cleaning and curing.
- Use a damp cloth to remove any excess mortar or adhesive from the granite’s surface.
- Allow the installation to settle for 24 hours with no heavy pressure or traffic to guarantee a firm, long-lasting bond.
- Complete the installation and seal the surface.
Sealing and Finishing the Installation
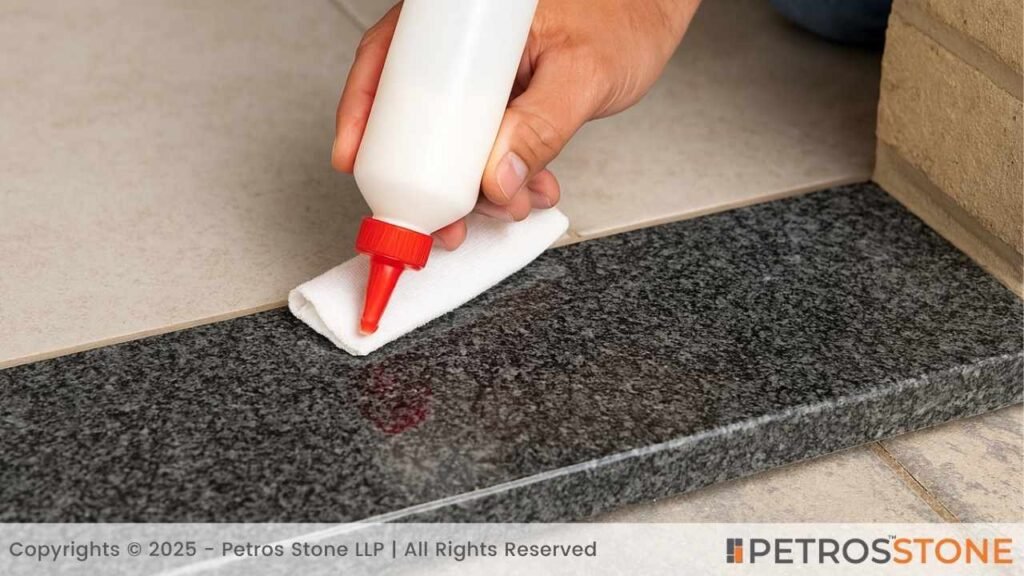
Do You Need to Seal Granite?
A sealant can protect the granite from stains and water. The sealant will also protect the surface from damage.
Types of Sealers for Granite
You will notice that there are two major kinds of sealers available:
- Sealers, which enter the stone, enable it to stay unaltered and also offer invisible protection.
- Enhanced sealers add a level of luxury to the granite and also deepen the color.
How to Apply
Be sure to apply the sealer uniformly across the whole surface using a soft cloth or brush.
Buff off the excess using a damp cloth and then wait 10 to 15 minutes prior to getting rid of the streaks.
Following the application of water or frequent use, allow the surface to cure completely for 24 hours.
Aftercare and Maintenance
- You need to maintain your granite threshold.
- Use gentle dish soap or neutral cleaners to clean your surfaces and avoid anything acidic or strong, like vinegar or bleach.
- You might replace the surface every 1-2 years, depending on traffic and moisture.
- Cracks or areas that need fixing should be checked regularly with the grout or adhesive to ensure they do not happen.
Summary
Granite thresholds serve as durable and stylish transitions between flooring materials, protecting floor edges while enhancing visual appeal. This guide covers everything from selecting the right granite style and finish to cutting, installing, sealing, and maintaining the threshold for long-lasting performance. With the right tools and attention to detail, even DIYers can achieve professional-grade results.
Are you searching for a top-quality granite threshold? Examine the incredible collection at Petrosstone, where durability meets design excellence. Whether you need a sleek, polished threshold for your entryway or a sophisticated finish for your bathroom, Petrosstone delivers an exceptional range of designs and finishes to elevate your space.
Key Takeaways
- Granite thresholds are ideal for high-traffic and moisture-prone areas due to their strength and water resistance.
- Proper measurement, surface leveling, and dry-fitting are essential before installation.
- Use thinset mortar for concrete/tile subfloors and latex-based adhesive for wood for best bonding.
- Sealing the granite enhances its stain resistance and maintains a polished appearance over time.
- Routine maintenance using neutral cleaners and periodic resealing will keep the threshold looking new for years.
FAQs
Can I install a granite threshold over tile or wood?
Yes, just ensure the surface is clean and use the correct adhesive.
Is granite slippery when wet?
Polished granite can be slippery. Choose a honed finish for better traction in wet areas.
How do I match granite thresholds with my floor color?
Neutral tones like black or gray are versatile, but always compare samples under your lighting.
What’s the difference between marble and granite thresholds?
Marble is softer and more porous. Granite is tougher, less prone to staining, and better for high-traffic areas.
Can I cut granite with a standard tile saw?
Yes, provided it has a diamond blade and adequate motor power.
How long does a granite threshold typically last?
Decades, if properly installed and maintained.
What’s the average cost of granite thresholds?
Expect $20–$50 per piece depending on size, finish, and customization.
Feel free to get in touch for a free consultation, quote, and get a detailed understanding from our experts here at Petros®. Visit https://petrosstone.com/ or call +91-8446360361 and WhatsApp

Hi, I’m Dhananjay,
With a background in architecture and years of industry experience, I share insights on materials that shape great design. At Petros® Stone, I craft content that highlights the beauty and utility of natural stone, helping architects, builders, and homeowners make informed choices while strengthening the brand’s voice and online presence.

Brown Granite

White Galaxy Granite
Blue Bahia Granite
Silver Cloud Granite
Black Pearl Granite
Dallas White Granite
